Table of Contents
ToggleIn the age of smartphones, capturing knowledge has never been easier—or more entertaining. Imagine sitting in a lecture, armed with your trusty iPhone, ready to record every nugget of wisdom while avoiding the dreaded “wait, what did they just say?” moment. With just a few taps, students can transform their devices into powerful recording tools that ensure no important detail slips through the cracks.
Overview of Recording Lectures
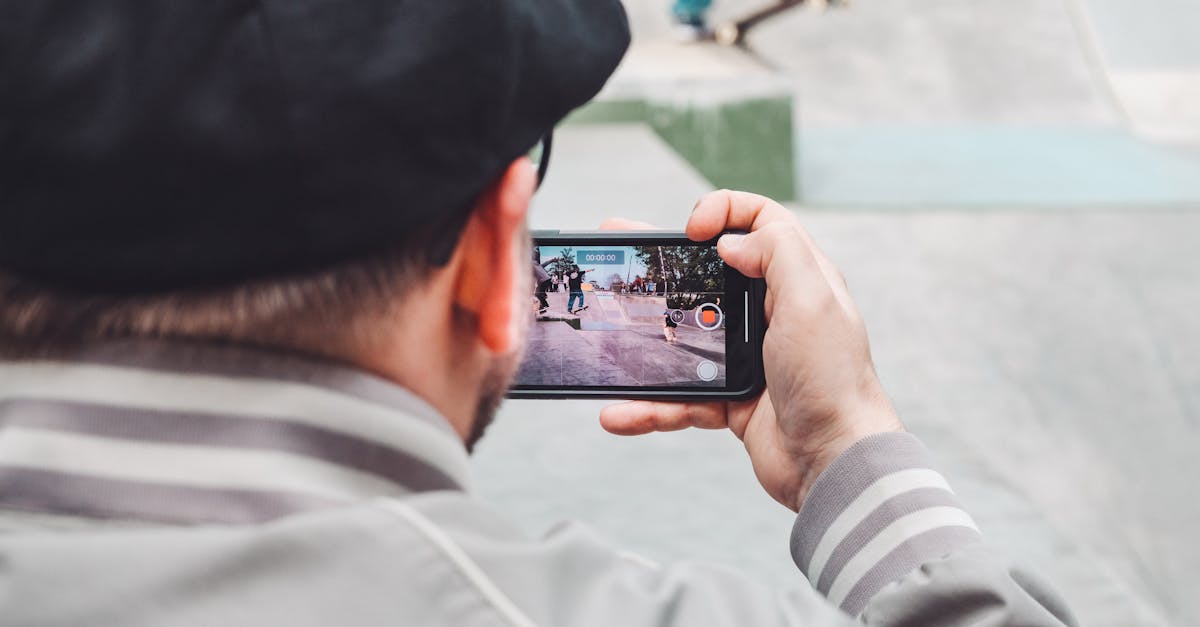
Recording lectures on an iPhone offers students a practical solution for capturing important information during class. The built-in Voice Memos app provides a straightforward interface that simplifies the recording process. Many students find that using their device enhances their learning experience, as they can easily revisit lectures to reinforce understanding.
Users can start by locating the Voice Memos app on their iPhone. After opening the app, one tap on the red record button initiates the recording. This feature allows them to focus on the content being presented without worrying about taking extensive notes. During a lecture, simply pausing the recording can be useful for managing interruptions or side discussions.
Reviewing recorded lectures becomes a vital study tool. Playback allows students to catch details they may have missed during the live presentation. Additionally, organizing recordings into folders can help categorize subjects and topics for easier access later.
Storing these valuable recordings in iCloud ensures that important lectures remain accessible across devices. Syncing between different platforms allows users to switch from their iPhone to an iPad or Mac without losing track of crucial information. Sharing recorded lectures with classmates can also foster collaboration and discussion, enhancing the overall learning experience.
Taking advantage of the iPhone’s capabilities supports effective learning strategies. Students benefit from various tools designed specifically for knowledge retention. By leveraging technology, they can maximize their academic performance and efficiently manage their study materials.
Preparing Your iPhone for Recording
Preparing your iPhone for recording ensures a smooth experience during lectures. This section covers essential steps to optimize the device before capturing audio.
Checking Storage Space
Checking storage space is crucial before starting any recording. Users should navigate to Settings, then tap on General and select iPhone Storage to view available space. It’s advisable to maintain at least 500 MB of free space to accommodate lecture recordings. Deleting unused apps or large files helps free up additional storage. Also, clearing out old recordings in the Voice Memos app ensures sufficient space for new ones.
Ensuring Battery Life
Ensuring battery life prior to recording sessions prevents interruptions. Users should check battery percentage in the top-right corner of the screen. Charging the iPhone fully before lectures is recommended for optimal battery performance. Activating Low Power Mode can extend battery life during recording. Also, disabling background apps and unnecessary notifications minimizes battery usage, helping the iPhone last through the entire lecture.
Choosing the Right App for Recording
Selecting an effective recording app is crucial for capturing lecture content accurately.
Built-in Voice Memos
Voice Memos is a straightforward option available on every iPhone. Students can quickly access this app to record their lectures without additional downloads. The interface is user-friendly and allows recordings to start with just one tap. It also features basic editing tools, enabling users to trim recordings or enhance sound quality as needed. Using Voice Memos, individuals can organize recordings into folders, promoting easier management of lecture files.
Third-Party Apps
Numerous third-party apps offer advanced features suited for lecture recording. Apps like Evernote provide integrated note-taking, linking audio files and written notes seamlessly. Additionally, Notability includes options for annotations, giving students the ability to highlight or comment on key points during playback. Other apps such as Rev Voice Recorder cater specifically to transcription needs, allowing users to convert audio into text efficiently. Exploring these alternatives can enhance the recording experience and better meet individual preferences for lecture documentation.
Best Practices for Recording Lectures
Recording lectures effectively requires attention to the environment and proper positioning of the iPhone to capture clear audio.
Finding the Right Environment
Select a quiet space to minimize background noise. Avoid areas with loud air conditioning or outside disturbances. Sit towards the front of the room, if possible, for better sound quality. Look for classrooms with good acoustics, ensuring the speaker’s voice carries clearly. It’s beneficial to test the recording a few minutes before the lecture starts to verify audio levels. Move away from distracting sounds, including rustling papers or chatter, to maintain focus on the lecture.
Positioning Your iPhone
Place the iPhone on a stable surface, such as a desk or table. Angle the device towards the lecturer for optimal sound capture without obstruction. Holding the phone in hand might introduce unwanted movement and noise. Ensure the microphone faces the speaker to record audio more clearly. Maintaining a distance of 3 to 6 feet from the lecturer enhances clarity while minimizing distortion. If using a case, check that it doesn’t muffle the microphone. Adjust the iPhone settings to maximize microphone sensitivity for best results.
Tips for Reviewing Recorded Lectures
Reviewing recorded lectures plays a crucial role in reinforcing learned material. Effective methods of organizing and transcribing recorded audio can enhance the review process.
Organizing Your Recordings
Organizing recordings boosts efficiency during study sessions. Use folders within the Voice Memos app to categorize lectures by subject or date. Label each file with relevant titles and the date for easy identification.
Creating a backup on iCloud ensures access across multiple devices. Keeping both current recordings and archived material in order simplifies the search process when revisiting lectures. Students can color code or add tags for further organization, making it quicker to locate specific topics.
Transcribing Audio to Text
Transcribing recorded lectures converts audio to written text, improving retention. Using dedicated apps like Otter.ai offers real-time transcription features, streamlining the process.
Consider applying these transcriptions to study guides or notes, which can clarify complex topics. Highlighting key points or adding annotations within the text helps with comprehension. Students often find reviewing transcribed lectures more effective, allowing them to focus on critical details without distractions.
Recording lectures on an iPhone transforms the way students engage with their education. By utilizing the built-in Voice Memos app or exploring third-party options, students can easily capture and manage important information. Proper preparation and environment settings enhance the recording experience, ensuring clarity and focus on the lecture content.
Reviewing these recordings serves as a powerful study tool, reinforcing understanding and retention. With organized files and effective transcription methods, students can streamline their study sessions and collaborate with classmates. Embracing these techniques not only boosts academic performance but also fosters a deeper connection to the material being learned.


